How to Fix Wicker Furniture Easily & Quickly at Home
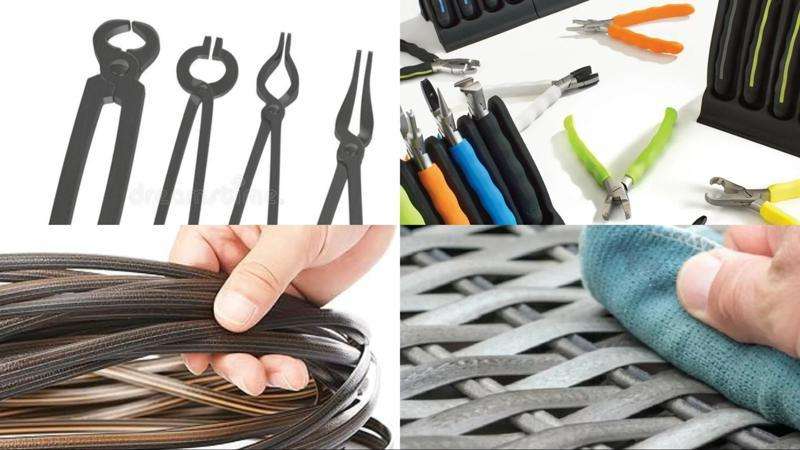
Discover how to repair wicker furniture with ATC Furniture’s step-by-step instructions. Restore your furniture to its original charm and make your outdoor area stylish and inviting again.
1. Tools Needed for fixing wicker furniture

Necessary tools to crack your patio furniture
Below are some essential tools for you to restore wicker furniture:
1.1. Replacement Wicker Yarn for Resin Wicker Furniture Repair
The key to a successful repair lies in selecting knitting yarn that matches the original material of the furniture.
Resin wicker is often made from synthetic materials like PE (polyethylene), which is UV-resistant and weatherproof, so choosing a yarn of the same material ensures the repaired section will be as durable as the rest of the furniture.
In addition to material, color matching is essential. The color of the replacement yarn should be consistent with the original furniture to ensure a seamless repair. Having a matching color will maintain both the aesthetic appeal and the original quality of the furniture, blending the repaired sections smoothly with the rest of the piece.
1.2. Specialized Glue for Securing Wicker Furniture Repairs
It helps secure the newly woven sections and ensures the durability of the repair. When selecting glue, it is important to choose one that has strong adhesive properties and can withstand harsh weather conditions.
Outdoor furniture is often exposed to sunlight, rain, and temperature fluctuations, so the glue must be resistant to UV rays, moisture, and extreme temperatures.
Another important aspect to consider is the glue’s safety and non-toxic properties, especially if the furniture is frequently used. A glue that is safe for both the user and the environment, while still maintaining high bonding strength, is the ideal choice for a long-lasting repair.
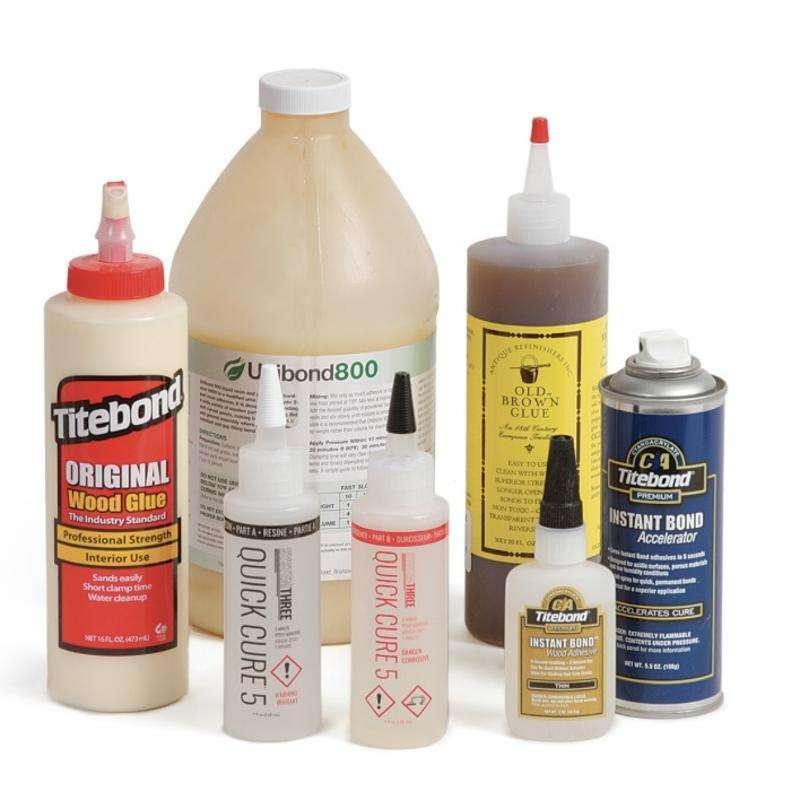
Popular types of glue on the market today
1.3. Coating and painting brushes
Special tools for repairing old wicker furniture to adjust and restore color or for design details to protect aesthetics from the effects of weather.
To restore wicker furniture, we need to choose a paint layer that matches the original color of the interior to keep it as original as possible.
Learn more about how to restore water hyacinth furniture.
1.4. Hand tools for fixing your Resin Wicker
- Conventional Pliers: Gripping and manipulating the resin wicker strands during the repair process. They help in adjusting the placement of the woven material or tightening any loose parts to repair resin wicker furniture.
- Needle Nose Pliers: Ideal for precision tasks, such as working with the intricate details of the wicker weave, pulling and tucking resin strands into place, or handling small components.
- Wire Cutters: Essential for cutting any excess or damaged resin wicker strands. They ensure clean cuts without fraying the material.
- Wire the Consistency of a Paper Clip: Reinforcing or securing the wicker weave during the repair, as it is sturdy yet flexible enough to work with the wicker material.
- Waterproof coating that protects the furniture from harsh environmental factors. Protecting wicker furniture after repair is an important and indispensable step to ensure the safety as well as the durability and beauty of the product.
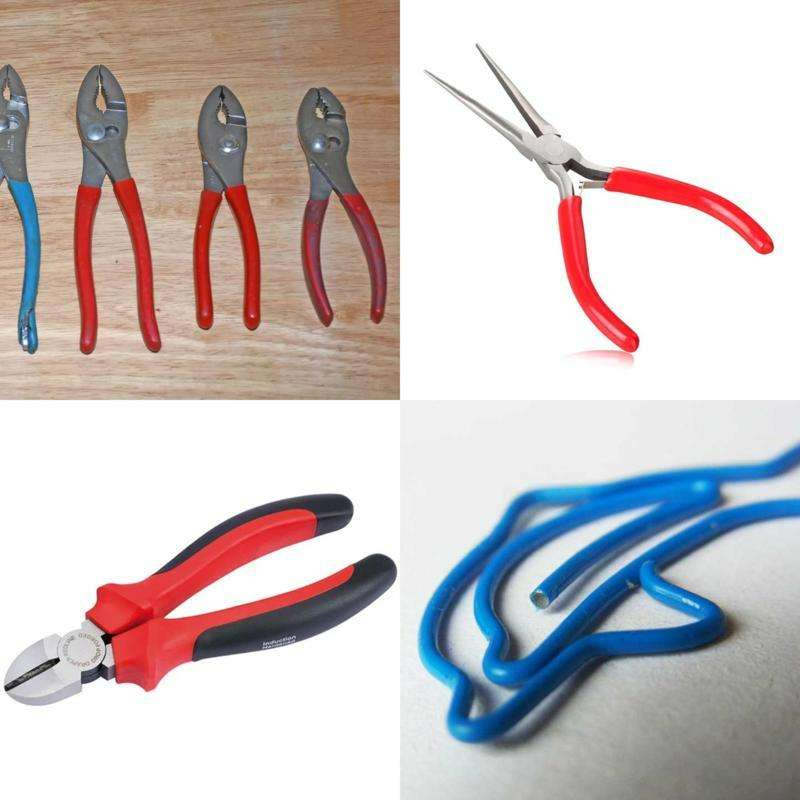
Hand tools for using easily at home
Explore our step-by-step guide on how to repair rattan furniture effectively.
2. Knowing the process of repairing Resin Wicker Furniture
Repairing resin wicker furniture yourself can be a cost-effective and creative way to restore your outdoor furniture to its original condition without being limited by pre-made designs. With the right tools and a methodical approach, you can easily achieve impressive results. Here’s a step-by-step guide to help you through the process.
2.1. Assess the Condition
Before diving into repairs, start by assessing the overall condition of your plastic wicker furniture. Look for areas that are broken, cracked, or discolored. This evaluation is crucial to plan your repairs systematically. Prioritize the sections that are most damaged and require immediate attention.
If you notice cracks, breaks, or loose weaves, mark these areas. It is also important to note any color fading or sun damage so that you can replace or touch up these sections during the repair process.
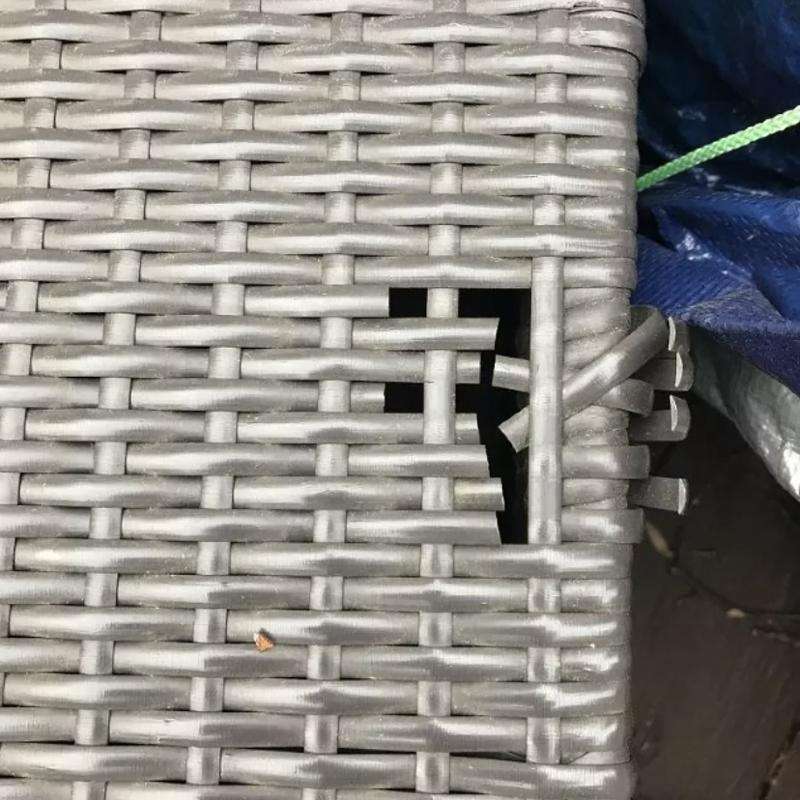
Visible cracks along the frame and several loose weaves in the seat
2.2. Repair and Replace
Once you’ve identified the damaged sections, it’s time to gather plastic wicker replacement pieces that closely match the original material and color of your furniture. These can often be found in repair kits, or you can repurpose parts from unused furniture.
- Cut the pieces: Use a sharp knife or scissors to trim the replacement plastic strips to the appropriate size.
- Apply plastic glue: Apply a high-quality adhesive designed for plastic, such as polyurethane glue. Ensure the glue you choose is strong, weather-resistant, and specifically formulated for outdoor materials. This will help maintain the stability and integrity of your furniture.
Place the cut pieces into the broken or missing sections of the furniture and press firmly. Allow the glue to dry according to the manufacturer’s instructions before moving on to the next step.
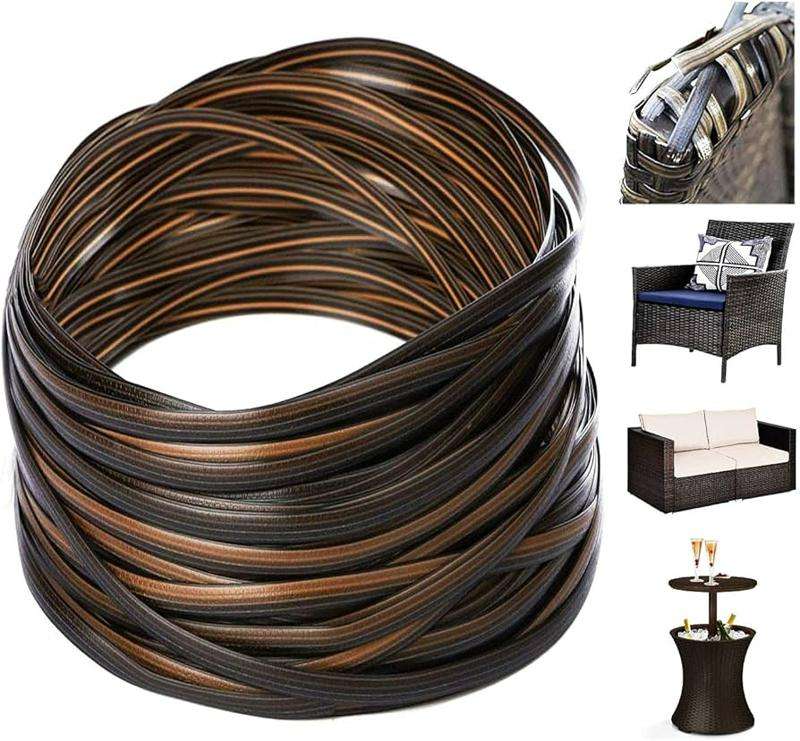
Common materials to repair resin wicker furniture
2.3. Apply Resin Coating
After the replacement pieces are in place, you’ll want to apply a resin coating to further strengthen the repair and ensure it can withstand outdoor conditions. Choose a durable, UV-resistant resin that matches the original finish of your wicker furniture.
- Apply the resin evenly over the repaired areas to create a smooth and consistent surface.
- The resin will not only enhance the furniture’s durability but also provide an extra layer of protection against further weathering or damage.
For similar maintenance tips, check out our guide on how to care for outdoor teak furniture